Last Updated on December 3, 2020 by Ted Mosby
The second best thing, which is more fun than driving an RV, is painting your camper to give it a whole new look. If you are a frequent RVer and spend most of your time camping, chances are your RV needs a paint job. If you’re wondering how to paint your Travel Trailer or RV, you are in the right place.
Your recreational vehicle is not a regular car that you can just drive to the paint car or body shop to get a fresh coat of paint by spending a few hundred dollars. However, if you take your vehicle to the same shop, you shouldn’t be surprised if they charge you more than a thousand dollars.
It means if you know how to paint your recreational vehicle by DIY, you can save yourself a serious amount of money. So, let’s discuss the steps that you are required to go through while painting an RV.
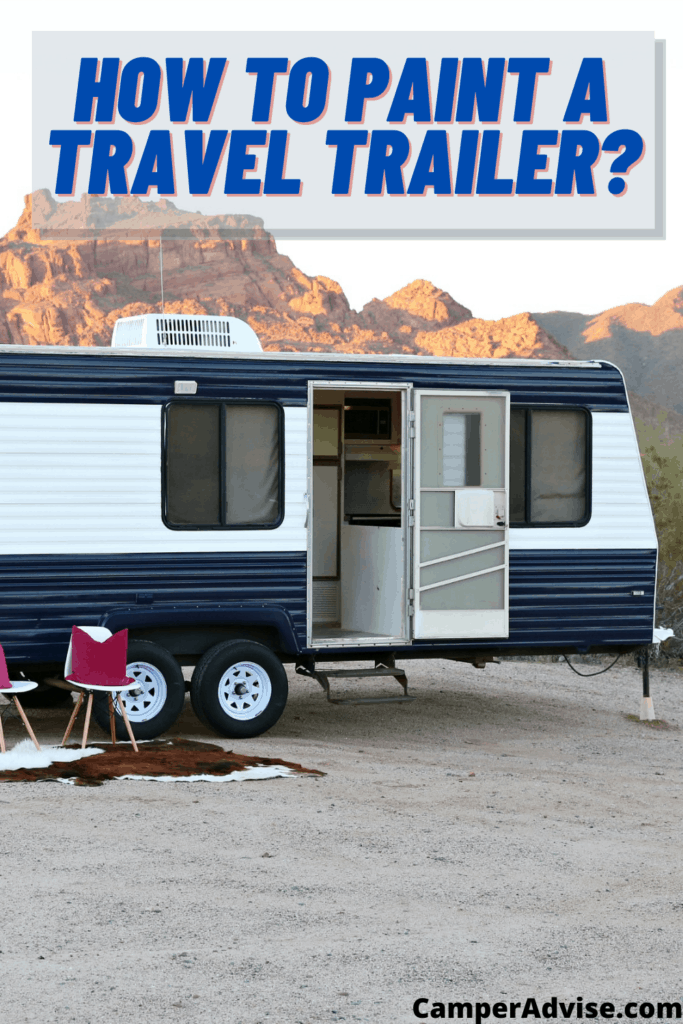
How to Paint a Travel Trailer or RV?
Supplies that you need include,
- Primer Paint.
- Paint Thinner.
- Color Paint (Use of oil-based paint is recommended).
- Automotive Body Filler.
- Sandpaper Sheets.
- Spray gun and Compressor.
- Soapy Water/Detergents.
- Covering Sheets.
- Masking Tape.
How to Paint a Travel Trailer or RV?
1. Purchase the Required Paint
The very first step when you are considering painting your RV is buying paint. Visit an auto paint store and buy a primer paint, color paint, and paint thinner. Using oil-based paints is excellent since it can stick incredibly well onto the surfaces you are considering to paint. Moreover, you will be required to have different paints for fiberglass and metals.
Another point of consideration is if your recreational vehicle has dents that you want to fix, get an automotive body filler and some different grits sheets of sandpaper. When you are at a paint store, ask them whether they offer a spray gun and a compressor on rent.
Furthermore, you want an even paint coat on your RV, which cannot be achieved if you are using a brush. Also, make sure not to use spray cans since using them to apply even a paint coat is really hard.
2. Prepare the Surfaces
The next step is preparing the surfaces you are going to paint. Take at least two gallons of hot water in a bucket and add some liquid dish detergent. After you have mixed it well, throw in a tack cloth inside.
3. Use Soapy Water to Give the Panels a Good Scrub
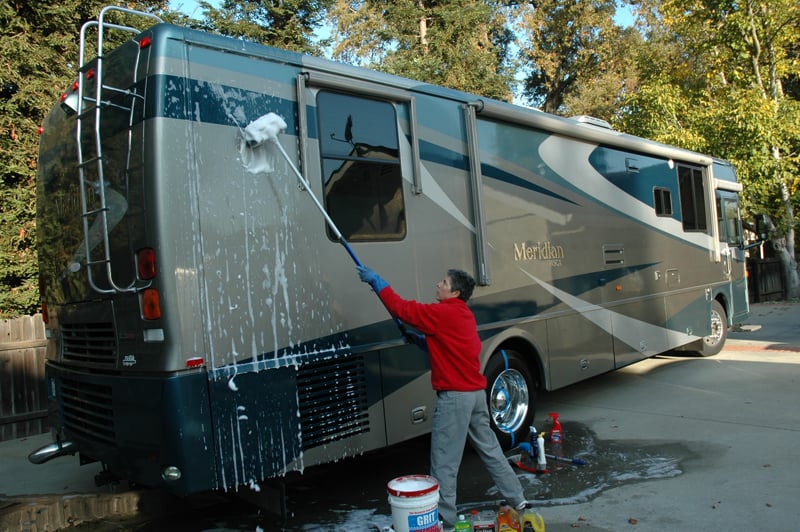
The panels you are considering to paint needs a good scrub to get rid of dirt and grit stuck on the surface. In this regard, use soapy water. Remember, painting over the dust particles; you will get nothing but a rough paint job. Once you have given the panels a good scrub using the soapy water, give the panels enough time to air dry.

Camping Gear SALE!
We have teamed up with Ape Survival to give you a huge 25% off EVERYTHING on their store! They have camping gear, hiking gear, survival gear and much more, all at 25% off when you click the link below.
SHOP NOW4. Mask Off the Areas
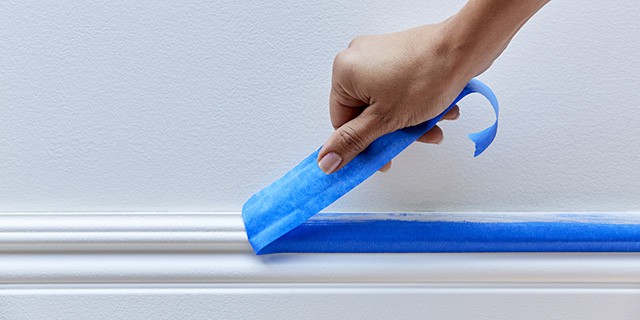
Once you are all set to paint your recreational vehicle, make sure to cover the areas you do not want to paint before painting the RV. In this regard, having butcher paper and masking tape makes it easier for you. The places you may wish to cover are windows, trim, doors, etc.
5. Apply Body Filler
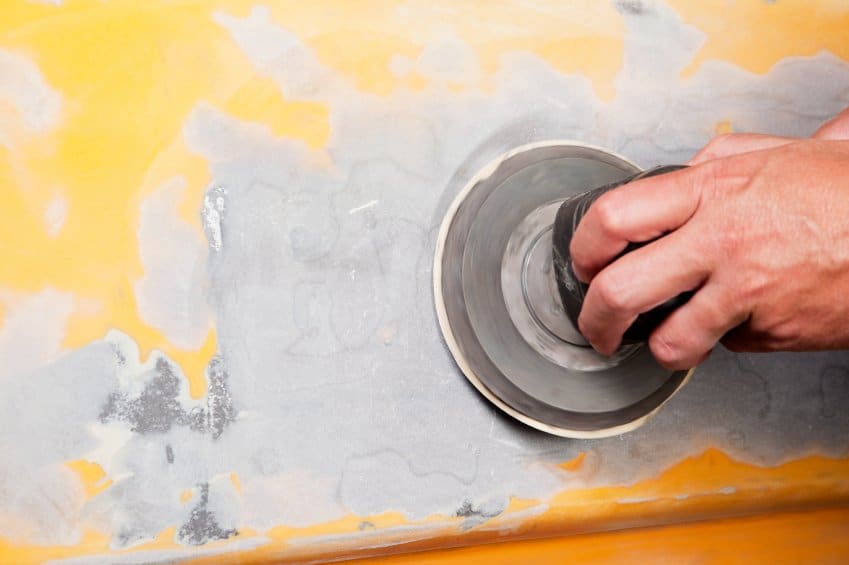
If your RV body has dents and you want to fill them out, apply body filler and then sand it gradually to make sure the body filler is flush to the body surface. Once you are done sanding, give it a thorough wash again and wait until it dries out completely.
While you are waiting for panels to dry, take a gallon of primer paint and a pint of paint thinner to mix them. This step will help you to prevent clogging of the spray gun. Now, add a small amount of thinned out primer into the spray gun and adjust the Compressor for constant pressure.
6. Spray the Paint
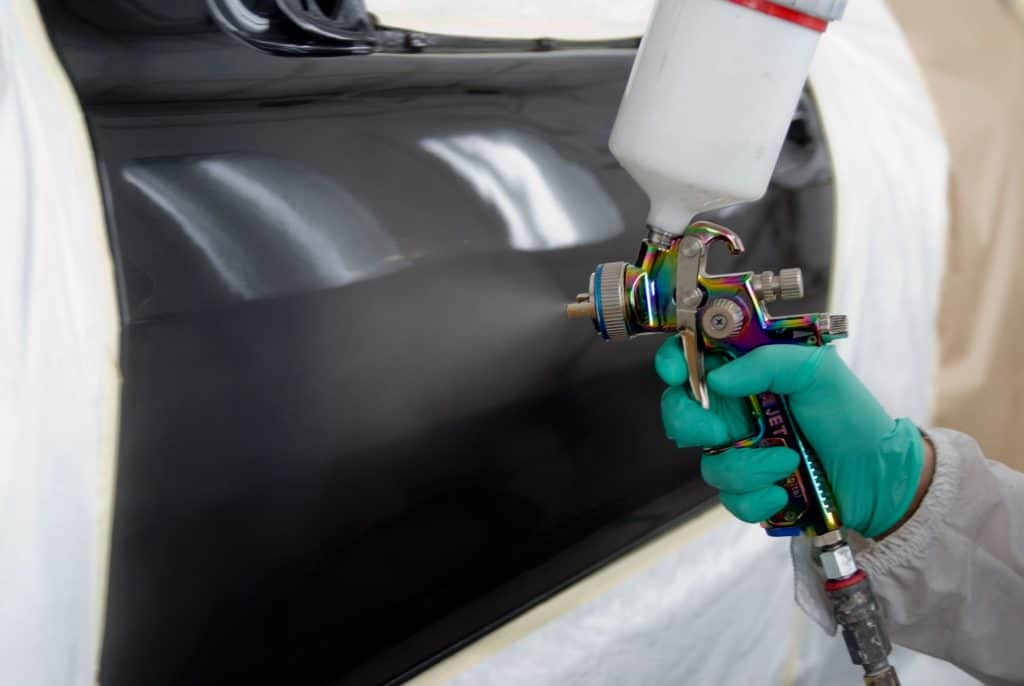
Now, since the panels are completely dried, you can spray the paint over them. Press the paint gun trigger outside the panel and spray the paint across to the other side. This will help to prevent paint drips on the paint surface. Once you are done painting the panels, give it enough time until it dries out completely.
7. Clean Out the Spray Gun
It’s time to clean out the spray gun now. In this regard, pour some thinner into the spray gun chamber and start spraying it until you see it coming out clear. Now, add some color paint into the spray gun chamber and apply the paint repeating the steps that you did with the primer.
You can apply as many paint coats as you want to get the look you want. However, when applying the paint coat, make sure the coat you have applied earlier is dried out.
8. Apply Clear Paint
Giving your recreational vehicle a couple of clear paint coats will give it more sheen. Moreover, the more you apply the clear coat paint, the deeper the color will be. Applying clear paint is also a great idea since it also protects the paint from dulling and shallow scratches.
9. Peel the Masking Tape Off
Once all is done, you have to peel the masking tape off that you have applied earlier on the doors and trims. However, while peeling the masking tape off, make sure the paint is almost dry (not entirely), you might end up peeling the dried paint off as well.
Tips to Keep the RV Paint Longevity?
Now, you have finished painting the camper exterior; you now want to keep it protected for extended periods. Keeping your RV paint looking good for longer periods, here are some tips;
1. Protect your RV from Direct Sunlight When Parked
Exposing your recreational vehicle to the sun’s UV rays for longer periods will crack and dull the paint. Regardless of whether you are using a car cover or not, the UV rays have the potential to break through it to damage your RV paint job. So, the best way to protect your RV paint job is to park it under the shade (inside your garage if you have).
Camping Gear SALE!
We have teamed up with Ape Survival to give you a huge 25% off EVERYTHING on their store! They have camping gear, hiking gear, survival gear and much more, all at 25% off when you click the link below.
SHOP NOW2. Avoid Parking the RV Under Trees
Most RVers think parking your RV under the trees is a good idea to protect it from the sun’s UV rays. However, they often overlook the leaves falling on the RV roof. It extends the time to keep the water sitting on the RV roof. It causes not only mold and mildew build-up but also water stains that ruin your RV paint job.
3. Avoid Using Harsh Detergents and Cleaners
Never try to use harsh detergents and cleaners (like the one used in steam pressure washers) while you want to clean your RV. Harsh cleaning materials are too harsh for the RV paint. Whenever you want to clean your RV, make sure to use soapy water (or any other soft liquids) explicitly formulated to clean car paints.
TIP: I strongly recommend the use of car shampoos that are great for cleaning RV painting. They protect the RV paint and contain paint polish that adds an added protective layer to give the RV paint shine and keeps its longevity.
4. Try to Travel on Paved Roads as Much as Possible
Do not unnecessarily drive your RV on the dirt roads and rough terrains if it is possible for you to avoid them. Driving your RV on the rough terrains and dusty roads will kick off the dust by wheels sticking it onto the RV body. Moreover, other flying debris and small rocks from unpaved roads will also scratch your recreational vehicle’s paint job.
Painting Mistakes that you Should Avoid
Before going any further, you should know is although painting an RV is a pretty rewarding job, it can be pretty discouraging as well if the things go against what you had planned. Below are some painting mistakes that you should avoid when painting an RV to prevent frustration.
1. Using the Wrong Primer or Paint
You cannot use interior latex paint on the exterior trim of your RV. In doing so, you will notice it will start cracking and flaking off after a few months. So, regardless of whether you are painting a camper or your house, using the right paint is essential.
When finding the best paint for your RV, make sure to research thoroughly. You will find tons of information online that will help you to find the best paint for RV.
2. Overlooking the Instructions for the product you are Going to Use.
Using the paint products without reading the product instructions is another great mistake that many RVers make since they depend too much on the information available regarding the product online (Facebook, blogs, etc.). Although online blogs are an excellent source for gathering information and learning from other’s experiences, it doesn’t mean that you avoid reading and following the product instructions.
Also, what worked great for one might not work for you because you might have a whole different situation in your recreational vehicle.
3. Leaving Mistakes to Fix Them Later
Did you have mistakenly got some paint on the trim when painting an RV? Do not think scrapping it off later because it seems like an easy job to do. Leaving it to worry about it later will make this challenging for you, and it will be hard to scratch off that paint. Make sure to fix the mistakes as soon as possible rather than leave them later while painting a camper.
4. Not Waiting for the Paint to Cure
As I’ve discussed above that, you can scratch off the paint pretty easily for the first couple of days after painting a camper, but it becomes hard after days or weeks to scratch it off. So, make sure to avoid doing things that can scratch the paint off until the paint has had enough time to cure.
If you notice that the paint does scratch within the first couple of days, do not feel that your DIY project is a disaster. Give it enough time to determine whether there is a problem with paint adhesion or if it just has not have had enough time to be cured.
5. Painting the Camper when the Temperature is Too Hot, Too Cold, or Too Humid
Painting a camper when the temperature is not suitable is another common mistake that you should avoid. Ensure the weather isn’t too hot or too cold (or too humid) when you are considering painting a travel trailer. Again, reading the paint or primer instructions on the can is vital to determine the optimal temperature or humidity level for the project.
Final Words
Painting a travel trailer can be challenging, especially for those who are new to painting and have no prior experience. Before you start painting a travel trailer, make sure you have all the supplies required ready with you. Cover the areas you want to protect when applying paint by covering them with sheets and masking tape. Moreover, also make sure to use the right paint. Once you are finished painting your camper, you should also know how to protect the paint job. Furthermore, avoid the mistakes that I have mentioned above while painting a camper.
FAQs
What is the best paint for painting a camper?
Popular travel trailer paint for any camper includes Rust-Oleum, Black, 207006 Marine Paint, Krylon 1962 Farm and Implement Brush, and POR-15 45904 Top Coat Chassis Paint.
Table of Contents