Last Updated on April 6, 2022 by Ted Mosby
Remember a famous saying “measure twice and cut once”? This perfectly fits when you are considering adding a skylight to your RV.
Having a skylight in your recreational vehicle means you will get natural light all day when camping at a campsite or RV park. Adding a skylight to your RV has so many benefits.
It keeps the RV interior shiny and makes it look spacious. It also provides light to the dark areas in your RV, and you don’t have to keep the interior lights on all the time, which can drain your RV batteries.
If you have an RV with no skylight and want to add one, the very first thing that you will have to do is to create a hole in your RV roof. To make sure you are going to cut your RV roof when considering adding a skylight, you need to measure the skylight accurately, so you don’t regret it later.
After all, you have spent a lot of money to own an RV, and you cannot afford to treat it lightly.
This piece of the post will assist you in understanding How to Measure RV Skylight and everything related to RV skylights.
So, keep reading on to learn more.
How to Measure RV Skylight?
- Choose the Location Where You Want to Add Skylight.
- Consider Available RV Skylights Sizes.
1. Choose the Location Where You Want to Add Skylight
Adding a skylight to your RV means you have to consider every aspect. It is not something that you can install anywhere in your RV. The roof of your recreational vehicle is full of electrical wires, and if you cut one of them while making a hole for the skylight, you will have to spend a painful amount to get it repaired.
To avoid that, make sure to pick apart what is thinnest and doesn’t have electrical wires passing through.

Camping Gear SALE!
We have teamed up with Ape Survival to give you a huge 25% off EVERYTHING on their store! They have camping gear, hiking gear, survival gear and much more, all at 25% off when you click the link below.
SHOP NOW2. Consider Available RV Skylights Sizes
If you don’t want to spend much money, you should measure the dimension of available skylights. If you find a skylight of the same dimensions as you have in your mind, then go for it.
Once you have purchased it, find a suitable spot according to its dimensions.
How to Replace RV Skylight?
If you already have an RV skylight installed in your RV, you should keep checking it time by time to make sure the sealants are ok. However, both the bitter and harsh, cold, and hot temperatures can cause the sealant to wear out over time.
If you notice that the sealant is about to crack or it is cracked, it means to keep yourself prepared to deal with leakage issues – unless you replace the skylight.
Replacement of RV skylight is an easy DIY process. However, it requires your attention while doing it. Now, if you’re going to replace the old skylight with a new one, the very first step is to measure the RV skylight that is currently installed.
It is critical to measure the width and the flange where it has screws that connect it to your RV roof. Once you have to measure it precisely, you have to find a replacement. You can find one online or visit a local RV supply store.
Once you found the same size RV skylight, make sure that it covers the entire existing skylight. Moreover, also make sure that it is as wide as your older skylight is.
Now, once you think all is ok, here are the steps to follow,
- Read the instructions on the new dome to figure out what sealant is suggested by the manufacturer.
- Scrape the old sealant until you see the screws of the previous skylight dome. While scraping, be careful not to damage the roof.
- Once you see the old dome screws, remove them. You can use them again for new skylight installation if they are not damaged, so keep them safe.
- Now, you have to lose the old dome to remove it from your RV roof by scrapping the remaining sealant.
- Once you have removed the old dome, now you have to run a thick bead of sealant around the opening. Ensure to cover the screw holes as well.
- Now take the new RV skylight and perfectly place it on the sealant bead, making sure that the older dome skylight’s whole opening is covered.
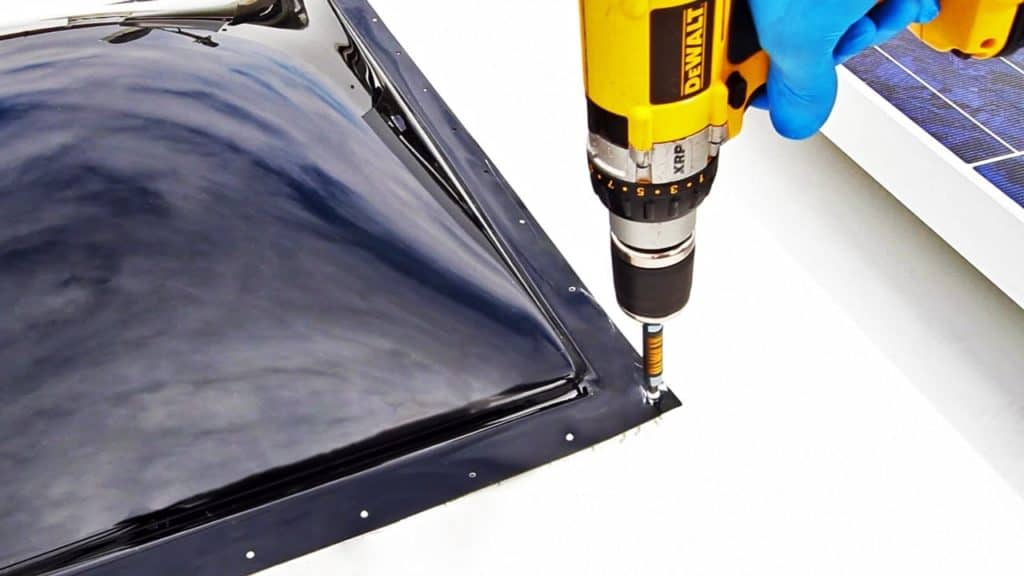
- Now, if the old dome screws are not matching to the new skylight, don’t worry. You can screw the self-tapping screws. Tight each screw until they begin flexing the plastic off the new dome.
- Now create another barrier to keep the leakage away by using the sealant on the skylight’s edges.
- Now cover the screw heads by using the sealant.
- Now you are done. Leave the new skylight for some time until the sealant dries.
Benefits of Adding an RV Skylight
let’s discuss the skylight benefits. If you are still confused and undecided about whether having added a travel trailer skylight is the right decision or not, below are some significant benefits that you should have a look at,
1. Additional Natural Light All Day
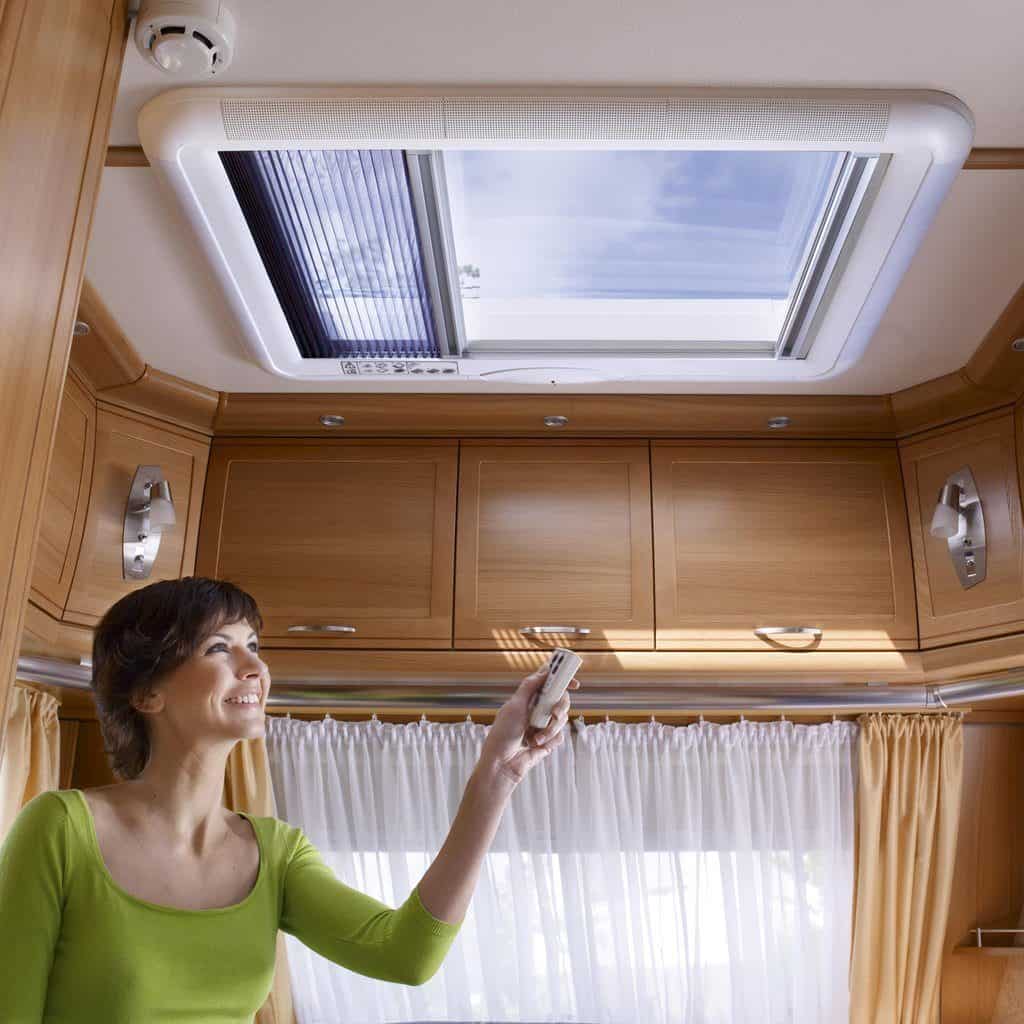
Staying inside your RV all day when it doesn’t have sunlight means you will have to keep the interior lights on all the time to get light. It means you have to keep your RV battery charged to keep the light on as they consume electricity.
Moreover, staying inside your RV without any skylight, you are not getting the natural sunlight that is necessary for health. That is why adding a skylight to your RV not only saves your electricity but also allows you to get sunlight even when you are inside your RV.
Camping Gear SALE!
We have teamed up with Ape Survival to give you a huge 25% off EVERYTHING on their store! They have camping gear, hiking gear, survival gear and much more, all at 25% off when you click the link below.
SHOP NOW2. Fresh Air Circulation
Another benefit of adding a skylight to your RV is that it will provide better air circulation inside the RV. You are probably going on an RV trip because you want to get away from the city’s smog-filled and polluted air.
Once you reach a peaceful place away from the city hustle, you can roll down the windows of your RV, turn off the air conditioning, and open your travel trailer skylight to get the fresh pollution-free air.
3. Outside World View and Shiny Stars at Night
You do not require to step out of your recreational vehicle to enjoy the outside views if it is equipped with a skylight. Having a skylight means you will not miss any view, while at night, you will admire the shiny stars in the sky while relaxing in your RV.
4. More Welcoming RV Environment
An RV skylight also keeps the interior feel shiny and spacious, which creates a more welcoming environment inside the RV. An RV skylight is similar to large windows in your home. Adding a skylight will make the compact space look more spacious than it actually is. Moreover, the sunlight coming from the sun will keep your warmth and comfort during cold temperatures.
5. Additional Emergency Exit
Having more than one emergency exit is always good, no matter if it is your home, workplace, or your RV. Especially in RVs, having a skylight means you will have an additional emergency exit that you can use in case you have an accident, and you find no other way to get out of the vehicle.
So, these are some benefits of adding a skylight to your RV. Now, if you are convinced and have decided to add a skylight to your RV, the next step is choosing the best travel trailer skylight for your vehicle.
There are plenty of types of travel trailer skylights, so it could be an overwhelming task for you to determine which one you should get.
Below, I have outlined some popular types of RV skylights that you can consider to help you out.
Types of RV Skylights
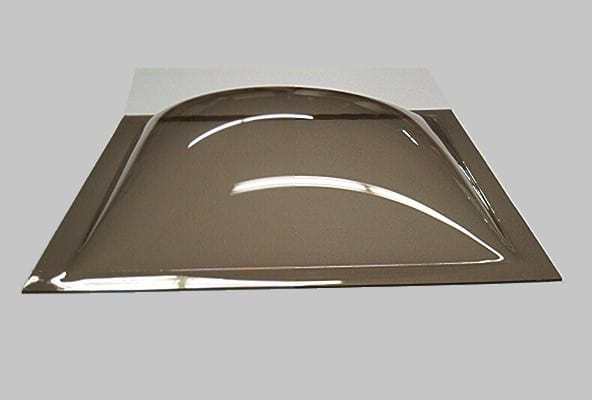
1. Fixed Dome RV Skylights
If you aren’t interested in investing much of your money in having a skylight for your RV, you should consider Fixed Dome Skylights. These skylights are not only popular but also cost-efficient.
Usually, they are made of sturdy acrylic and come in a dome shape. One of the biggest reasons for having a dome shape is to prevent the rainwater to not pooling in and flowing down as soon as it touches the skylight.
Moreover, in addition to their cost efficiency, they are also durable and rigid. Their dome shape needs no internal support to keep them standing. Another benefit of their dome shape is they spread light wider than flat skylights.
They are white to make them provide improved light transmission. However, you can also go for clear acrylic or smoked fixed dome skylights.
2. Ventilating RV Skylights
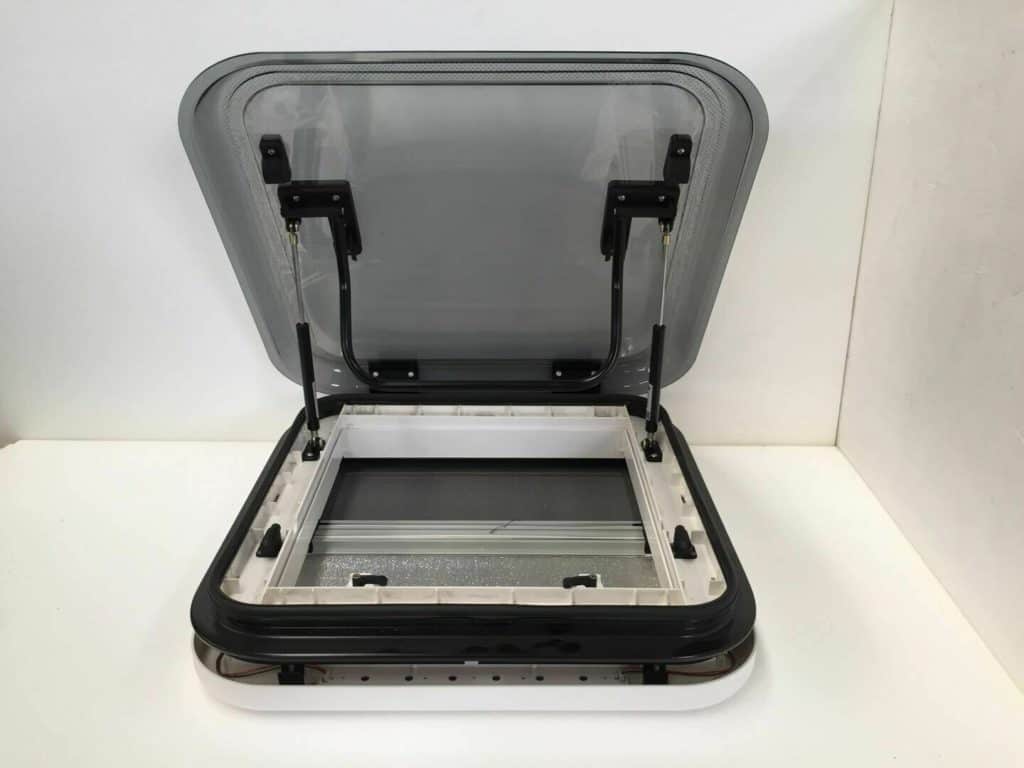
Ventilating RV skylights are generally made of laminated glass and aluminum. Due to a small window stopper, these skylights are hinged down on one side and open up to the opposite side.
These skylights don’t provide many skylights as compared to dome skylights. However, they can be opened up whenever you want to get a fresh breeze when camping.
Moreover, they are also available with a cover that you can use to prevent bugs and insects from breaking in at night when you keep the skylight open. Ventilating RV skylights also come as electronic-lifting skylights that you can open with just a switch rather than opening them up manually.
3. Tinted/Glazed RV Skylights
Although, dispersing the sunlight inside the RV can be done by installing the dome RV skylight. While to get a clear view of the sky when you don’t want to get out of your RV, you can go for clear acrylic skylights, making them an additional window. But what about the damage that could be caused to your RV interior by direct sunlight?
That is the primary problem with both Fixed dome and Ventilating RV skylights, especially if you have leather seating inside your RV. Direct sunlight coming from the RV skylight can fade, crack, and dry up your expensive RV amenities.
This is where adding tinted or glazed RV skylights come in handy. Adding these skylights to your RV will give you a view of the outside world and protect the RV amenities inside your RV by reducing the sunlight density.
Wrapping Up
That is all about how to measure the RV skylight. I have outlined everything related to RV skylights, including their benefits, types, how to measure RV skylights, and how you can replace the older ones.
It is important to keep your RV skylight in mind and keep checking it time by time along with other parts of your RV.
If you think this post is useful, do not hesitate to leave us a comment below.
FAQ
The standard size of a flat tempered glass RV skylight runs between 14 to 72 inches in width and 16 to 96 inches in length.What is the size of an RV Skylight?
The popular skylight that you will see in most RVs and travel trailers is the Fixed Dome RV skylight.What is the most popular RV Skylight?
Table of Contents